

While peak season for growing vegetables and fruits is slowly passing by, late summer is the best time to start canning your produce, so you and your family can enjoy tasty summer treats in the fall and winter. The method of canning is a great way to store basic ingredients, too. Can apples for applesauce, apple pie filling or apple butter. Can asparagus, beets and beans for salad toppings. You can also can herbs and spices. The options are endless! Here is Ryan Homes at Brunswick Crossing’s guide to late summer canning:
Preparation:
-
Gather the necessary equipment: You can find most of your canning basics at your local hardware store. While you are shopping, be sure to pick up canning jars with matching metal lids and rings, a boiling water canner with rack, a wide-mouthed funnel and tongs.
-
Fill the canner with water and heat it up: The canner should be two-thirds full for pint and half-pint jars and half full for quart jars.
-
Set the rack on the pan’s rim and cover: Over high heat, bring water to a boil (about 180 to 185 degrees for pickles) for 30 to 45 minutes.
-
While boiling water, wash the canning jars and rings: Use a dishwasher for all of your tools except the lids, which should be hand-washed.
-
When the water boils, place the jars on the rack: Gently and slowly lower the rack into the water, and boil for 10 minutes. Reduce the heat to a simmer and keep the jars in the water until needed for sterilization.
-
Follow manufacturer’s directions for prepping lids and bands.
-
Rinse the produce, and prepare as the recipe directs.
Canning:
-
Ladle your produce into the jars: Use the wide funnel to arrange your produce into the jars. Be sure to leave enough distance between the rim and food as specified by the recipe. If the last jar is not completely full, let it cool in the refrigerator and serve chilled – do not continue to process it.
-
(Do this step only if you have chunky mixtures.) Release the air bubbles: Gently run a plastic knife around the inside of the jars. Wipe the rims with a clean, damp cloth so sealing is tight.
-
Seal your jars: Center the lids on the jars, and screw the metal rings on firmly.
Processing:
-
Lower jars on the rack into the water: The water should cover all of the jars by at least 1 inch. Add hot water as needed. Cover the canner and return the water to a boil. Cook for specified recipe time.
-
Lift jar rack onto the edge of the canner: Use tongs and a hot pad to avoid accidental burning. Do not tighten the rings. Cool at room temperature.
Warning: You may hear a “ping” sound as the jars seal. This sound is normal!
-
Press on the center of each lid: If it stays down, the jar is sealed. Servings are good up to 2 years. If it pops up, chill it in the refrigerator and serve cool. Make sure the lids are not leaking, and no liquid squirts out of the jar upon opening. No unnatural odors should be detected.
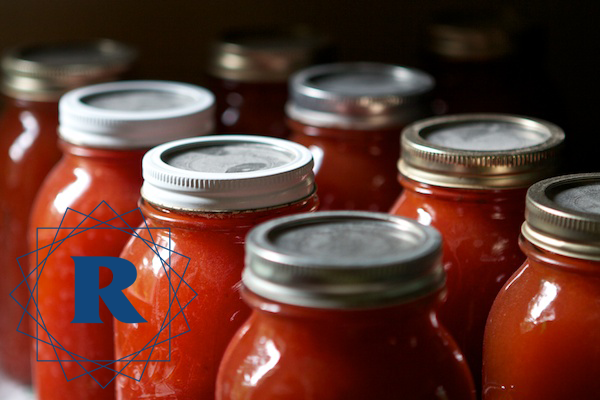
Some of the best crops to can in August include peppers, pears, plums, tomatoes and corn. You can also can all of the aforementioned produce as well for delicious summer jams and salsas year-round. Follow these directions and your provided recipes for safe and secure canning.